Creating and Managing Workspaces
A workspace is a primary organizer of content in HydroServer. Think of it as a shared space or folder within which you can create monitoring sites, metadata, and observational data. Workspaces can represent a user, a group of users, a geographic area like a watershed, an observatory site, project, etc.
Workspaces are used to organize content and to control access to data and metadata. To create a workspace in HydroServer, you must first be logged in.
NOTE: By default, workspace creation is enabled for all users when HydroServer is deployed. If needed, a HydroServer administrator can disable workspace creation entirely - e.g., in the case of a HydroServer that represents data for a particular organization like the Logan River Observatory for which creation of new workspaces is not required or desired. Or an administrator can enable workspace creation for certain users.
Creating a New Workspace
If you are logging into HydroServer for the first time, you will be taken to the 'Your Sites' page. The workspace panel will be displayed near the bottom of the page, ready for you to create a new workspace. If you need to navigate there, click on the 'Your Sites' link in the main navigation at the top of the page and then click on the 'Manage Workspaces' button just below the map.
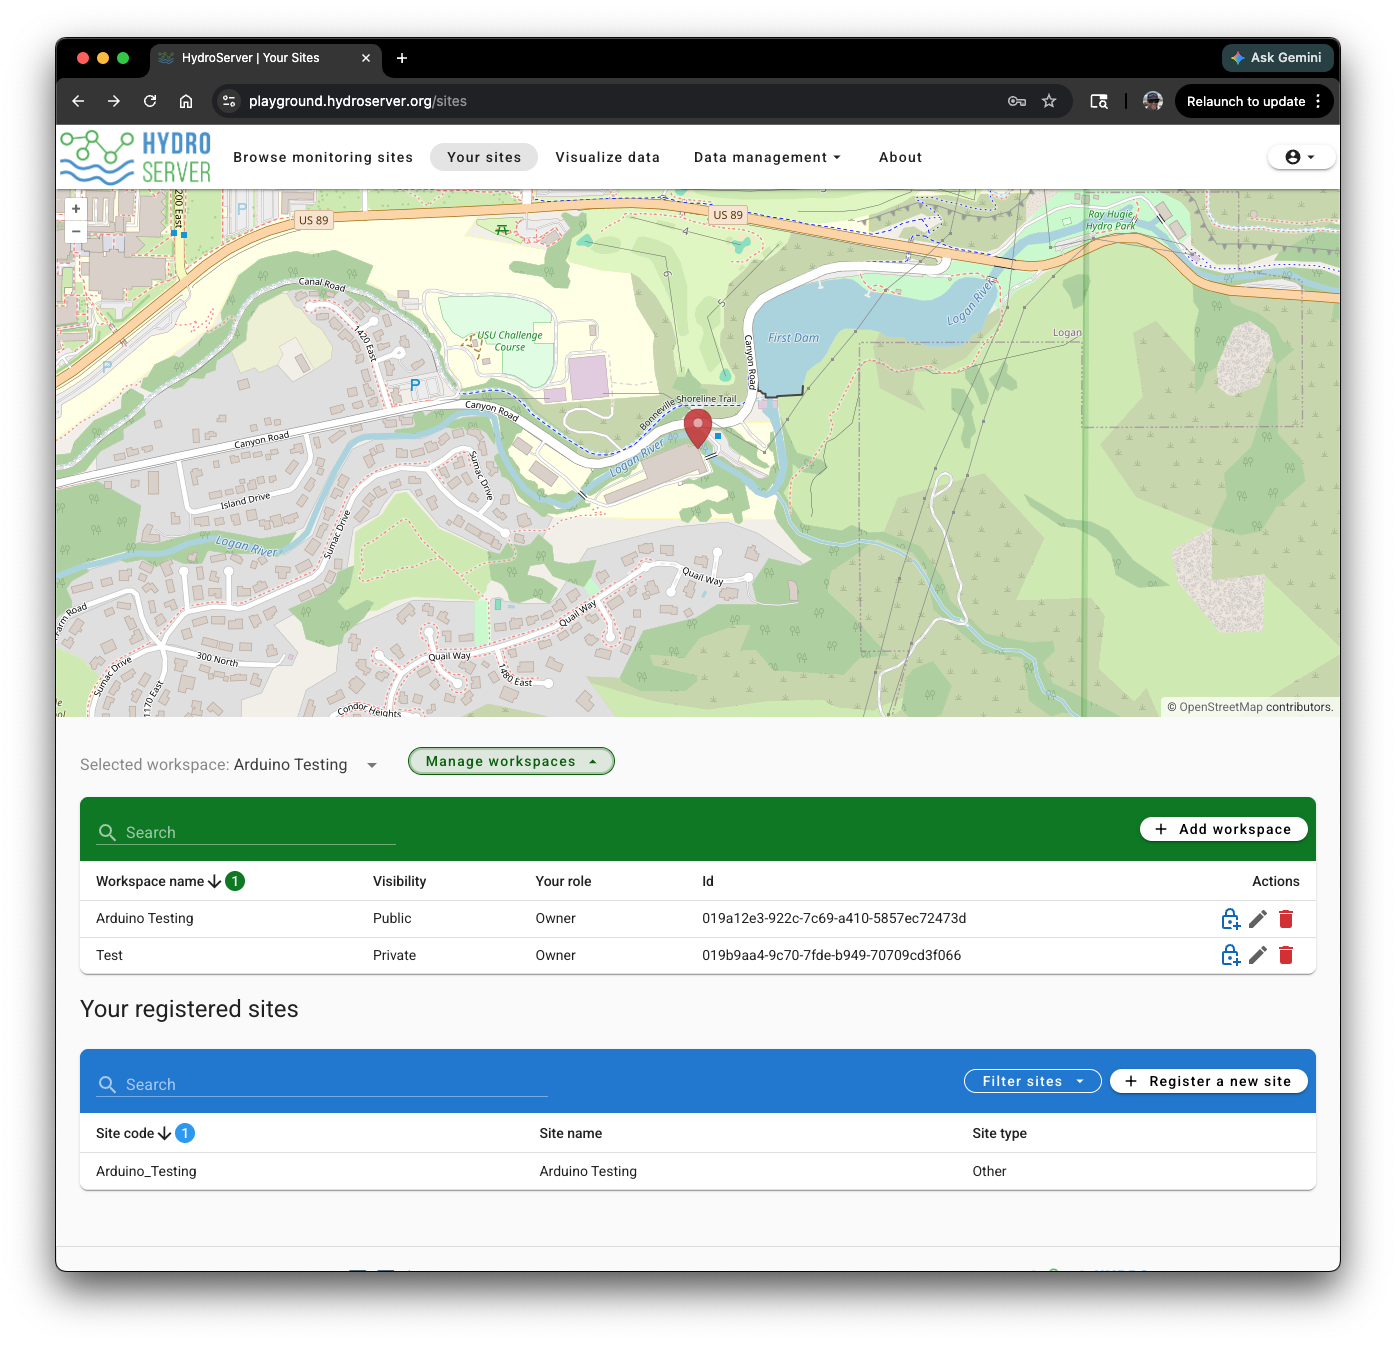
Click the 'Add workspace' button at the top right of the workspaces table. Give you workspace a meaningful name that is descriptive of what it will contain. You can also choose whether to make your new workspace public or private. Click the 'Save' button to create the workspace.
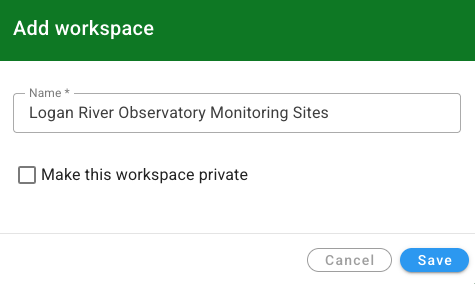
NOTE: Making your workspace private means that only you and specific HydroServer users that you add to the workspace as collaborators will be able to see any of the content within that workspace.
You will notice that your new workspace has been added to the list of workspaces in the table. You can click the Pencil button in the right column of the table if you want to edit the workspace name or change the workspace privacy.