Creating Your First Site
Create an account on our playground instance
Go to https://playground.hydroserver.org.
Click the 'Sign up' button on the top right of the page to create a user account for Playground. Note that user information is public. Everyone else on playground will see your account information, so choose information you're OK with sharing.
Create a workspace
After verifying your email address, the website should navigate you to the 'Sites' page with a blank map on the top and a 'Workspaces' table on the bottom. If it didn't, you can navigate to it via the 'Your sites' button on the main navigation menu.
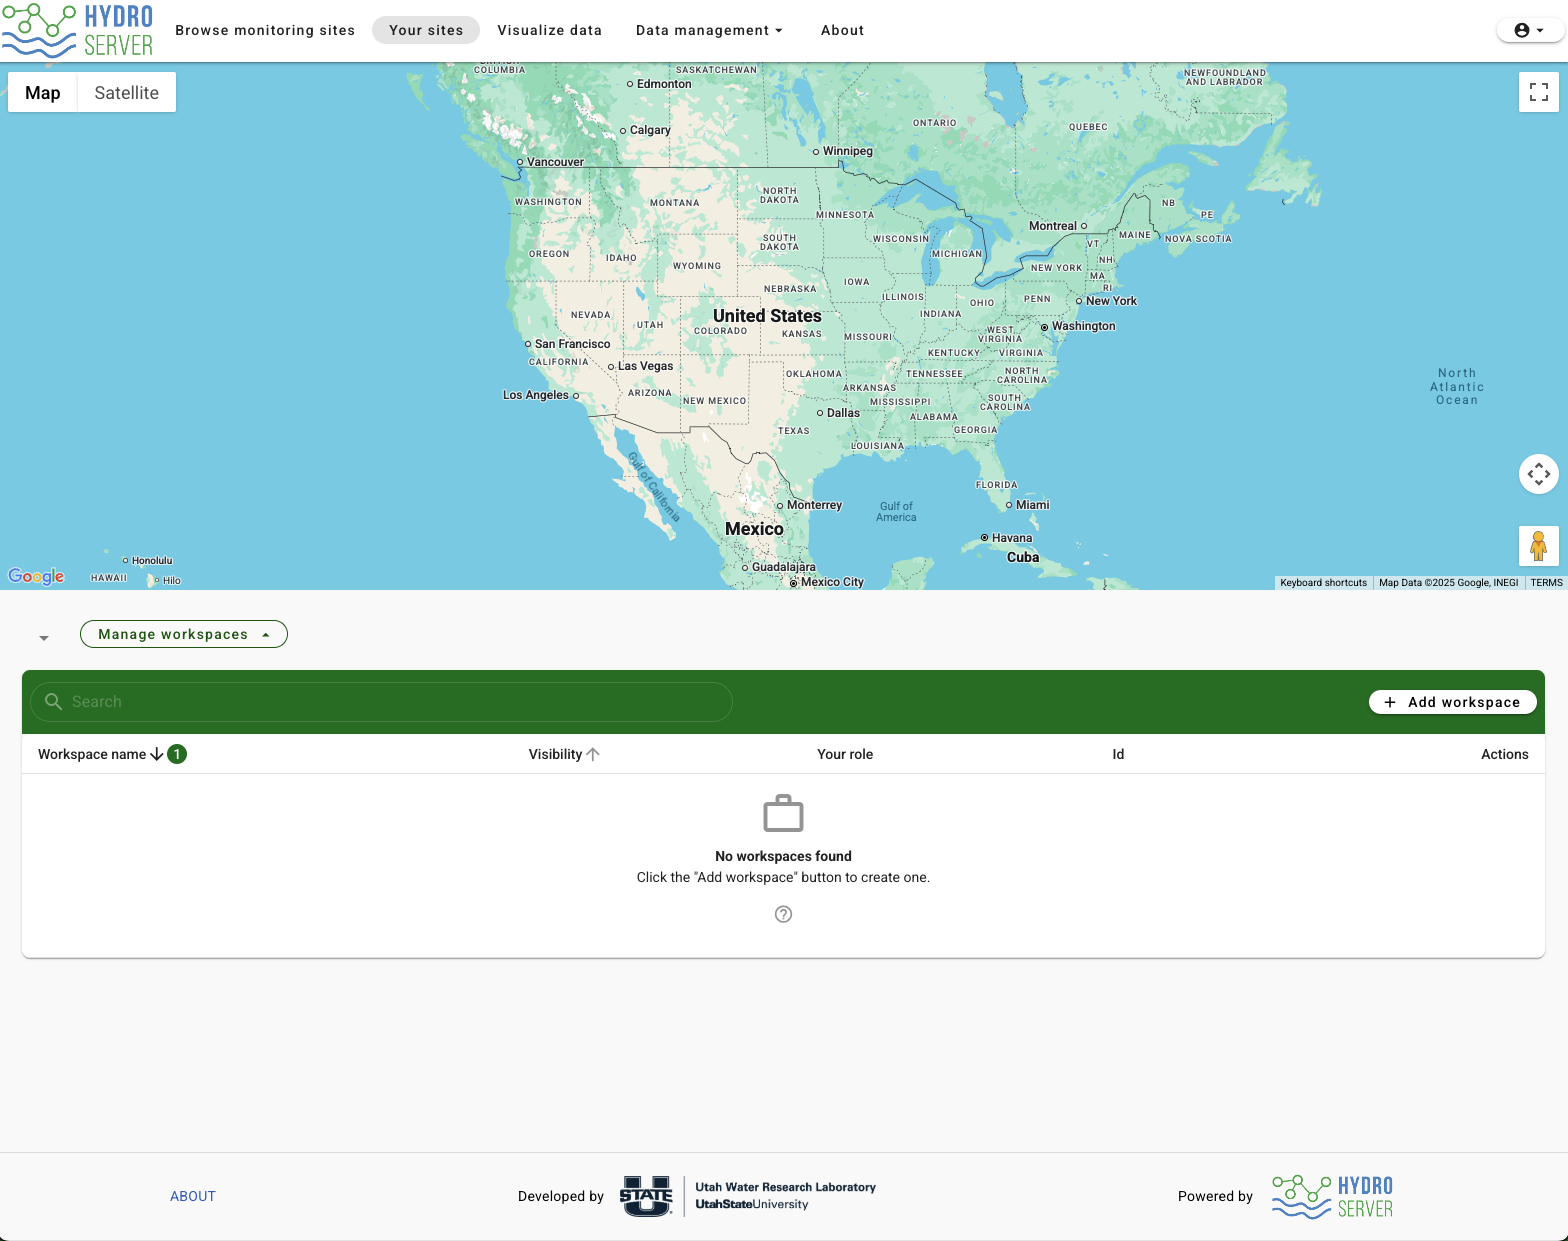
Before creating your first site, you'll need to create a workspace for that site to go in. Most of HydroServer's access control happens at the workspace level, so resources like sites and datastreams belong to a workspace.
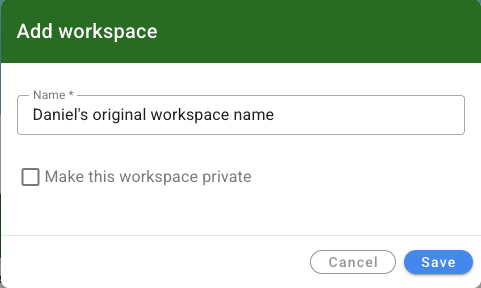
Click 'Add workspace' and give your workspace a name. Make it unique since everyone's workspace will be visible. If you don't want other users to see your workspace, you can check the 'Make this workspace private' button. This will hide the workspace and everything in it from all public users of HydroServer.
Create your site
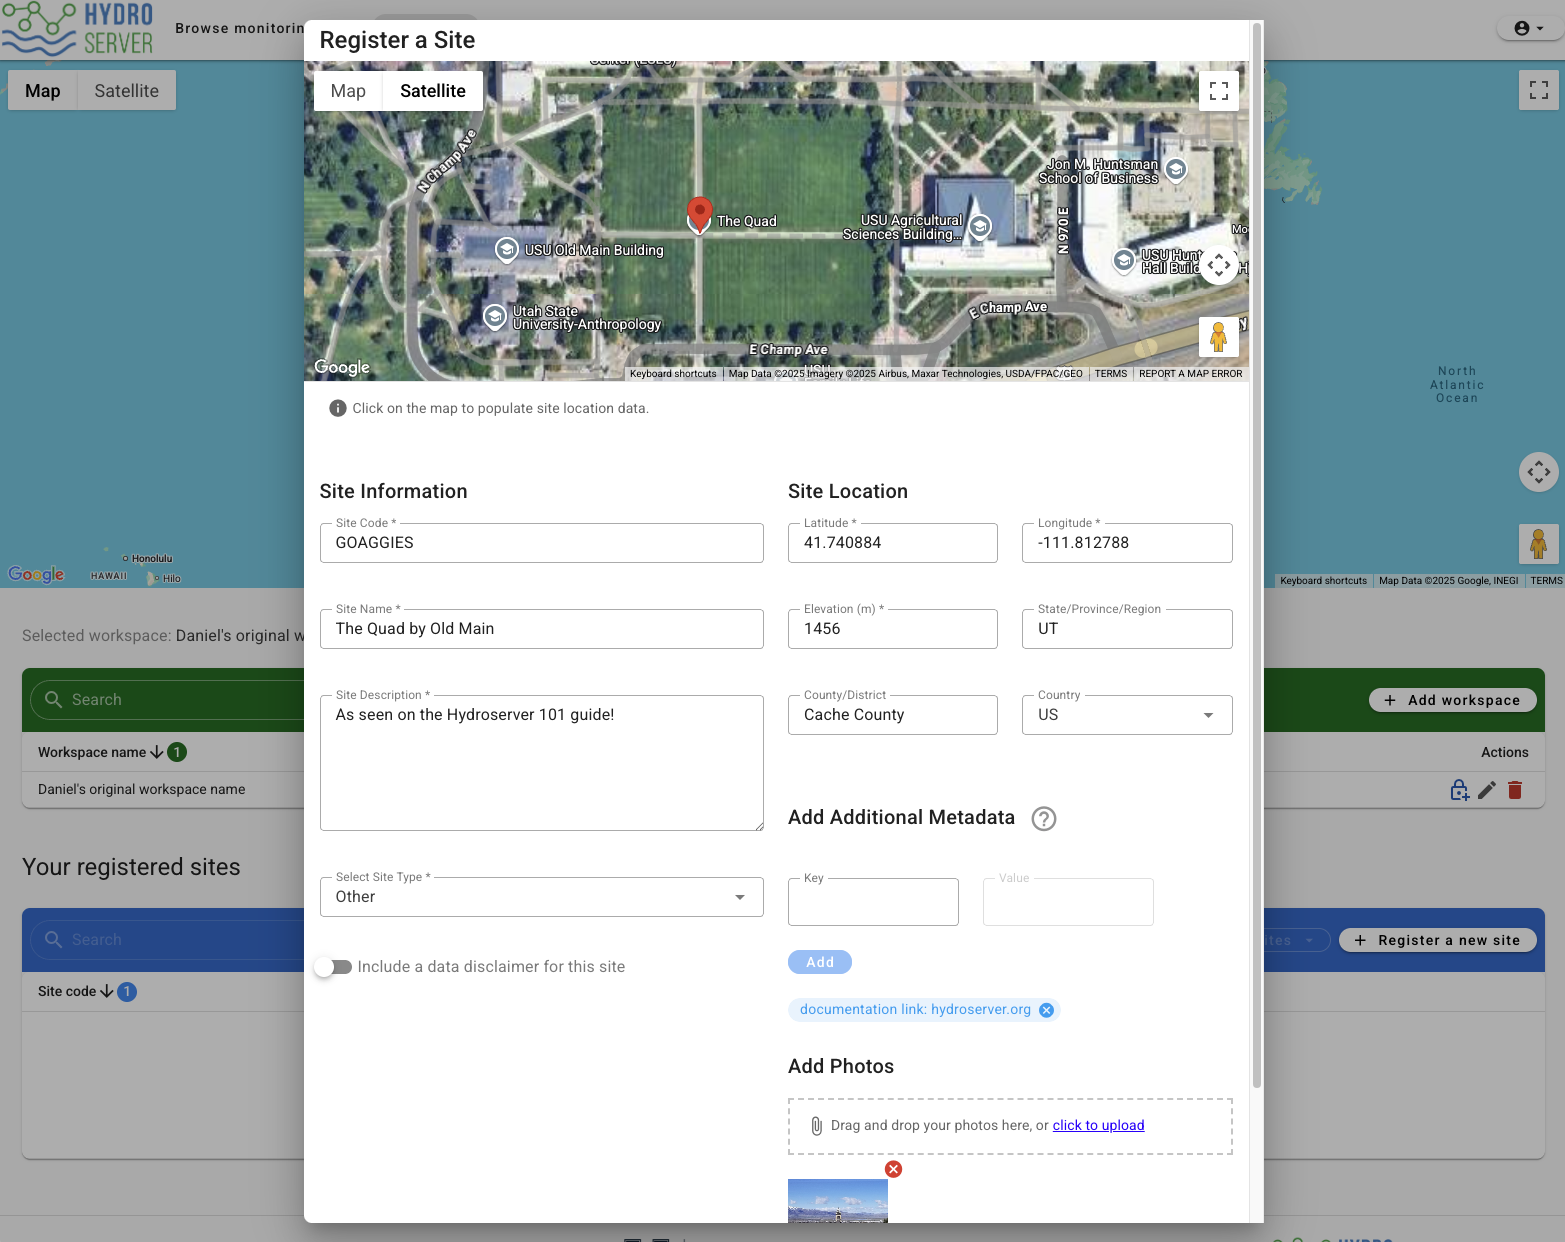
After the workspace is successfully created, you'll see a new table named 'Your registered sites'. Click the 'Register a new site' button on the top right of the table to create a new site.

Clicking the 'Register a new site' button will open the Register/Edit a site modal window. Click anywhere on the map and it will create a new map marker and automatically populate the location form fields. You can also type values into the 'Site Location' fields if you know them already. Fill out the rest of form with the metadata for your site and click save.
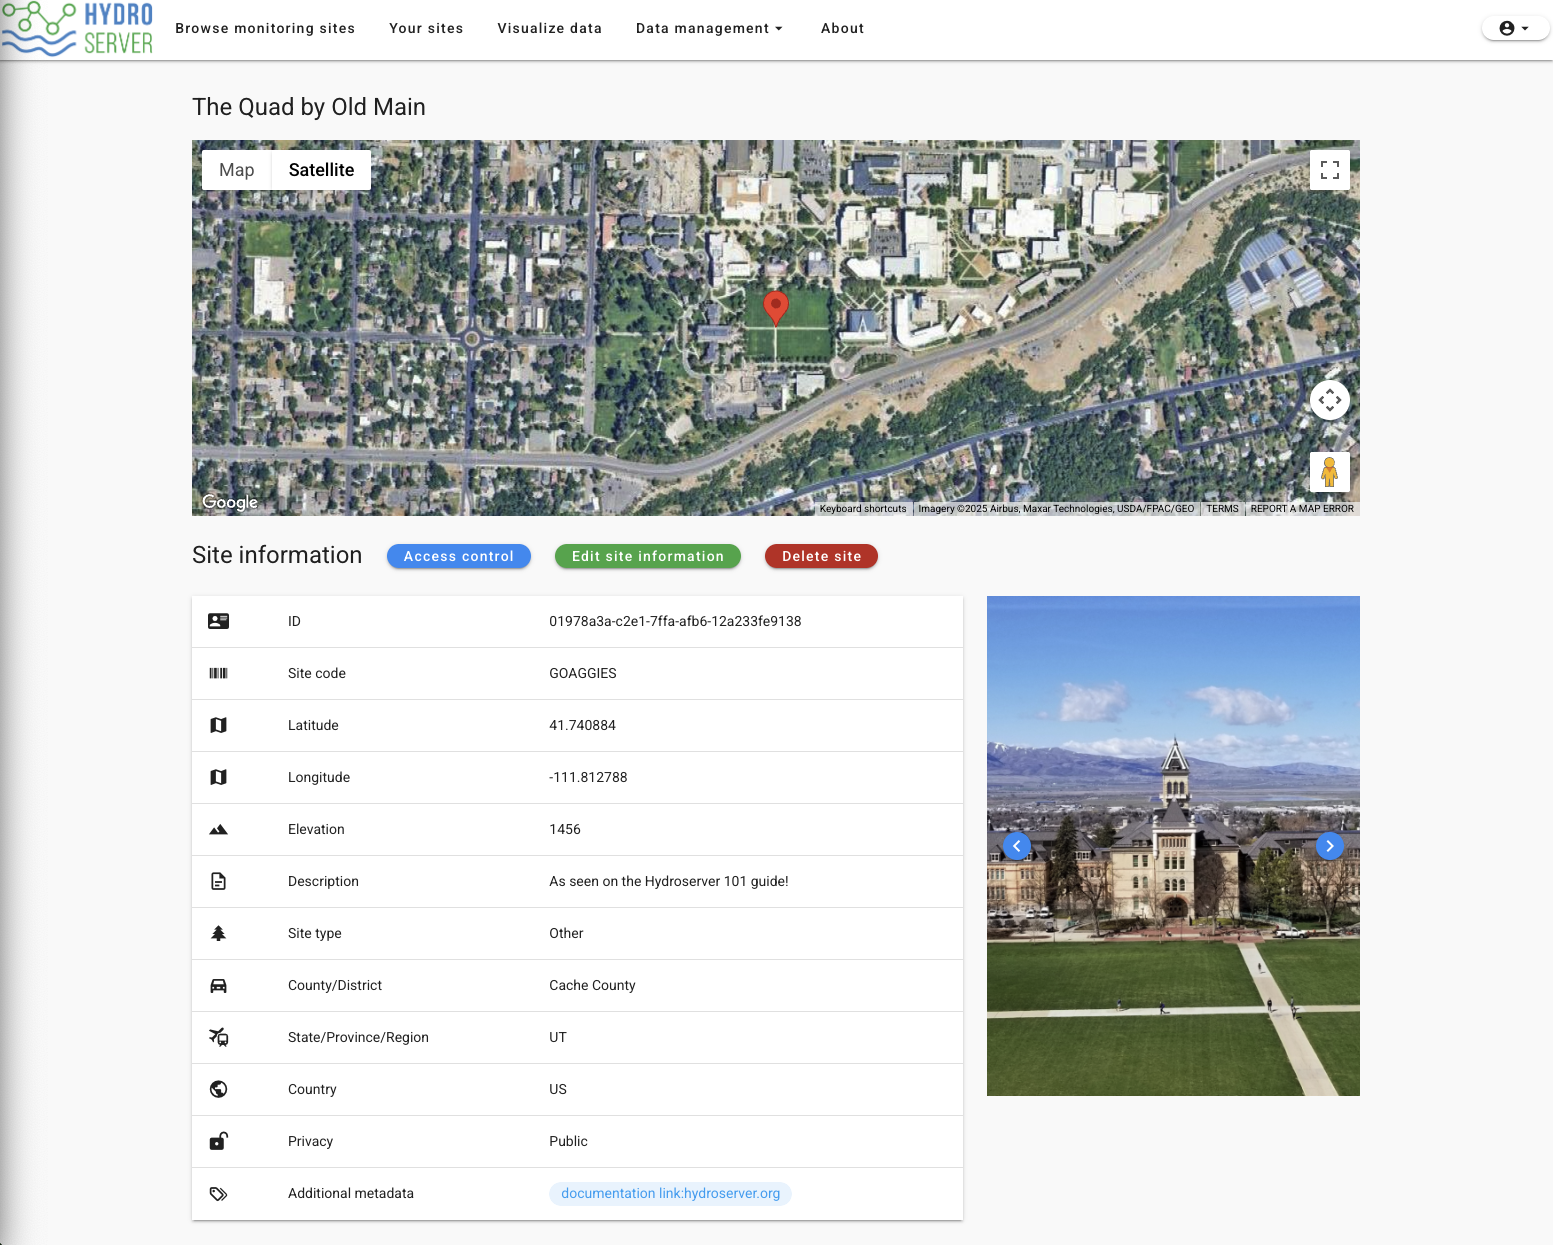
On the 'Your sites' page you'll now see the map zoomed in to your new site, and your site will be added to the registered sites table.
Clicking the newly created table row for your site will direct you to the 'Site Details' page. This page is where you can edit the site's information and access control, delete it, or add new datastreams as you'll see in the next part of this tutorial.