Creating Your First Orchestration System
Now that we have a site and datastream created, we're just about ready to load some data. There are many ways to load data in HydroServer which are explained in the documentation. They range from manually pushing data yourself via the API to sophisticated automated workflows. For this tutorial, we'll setup a simple automated workflow. We'll download the Streaming Data Loader desktop application and use it to extract a CSV file off your computer and into HydroServer.
Register an Orchestration System
On playground.hydroserver.org website's main navigation menu, select the 'Data Management' dropdown menu item -> then select 'Job Orchestration'. This will take you to the overview page for all automated data loading associated with your account.
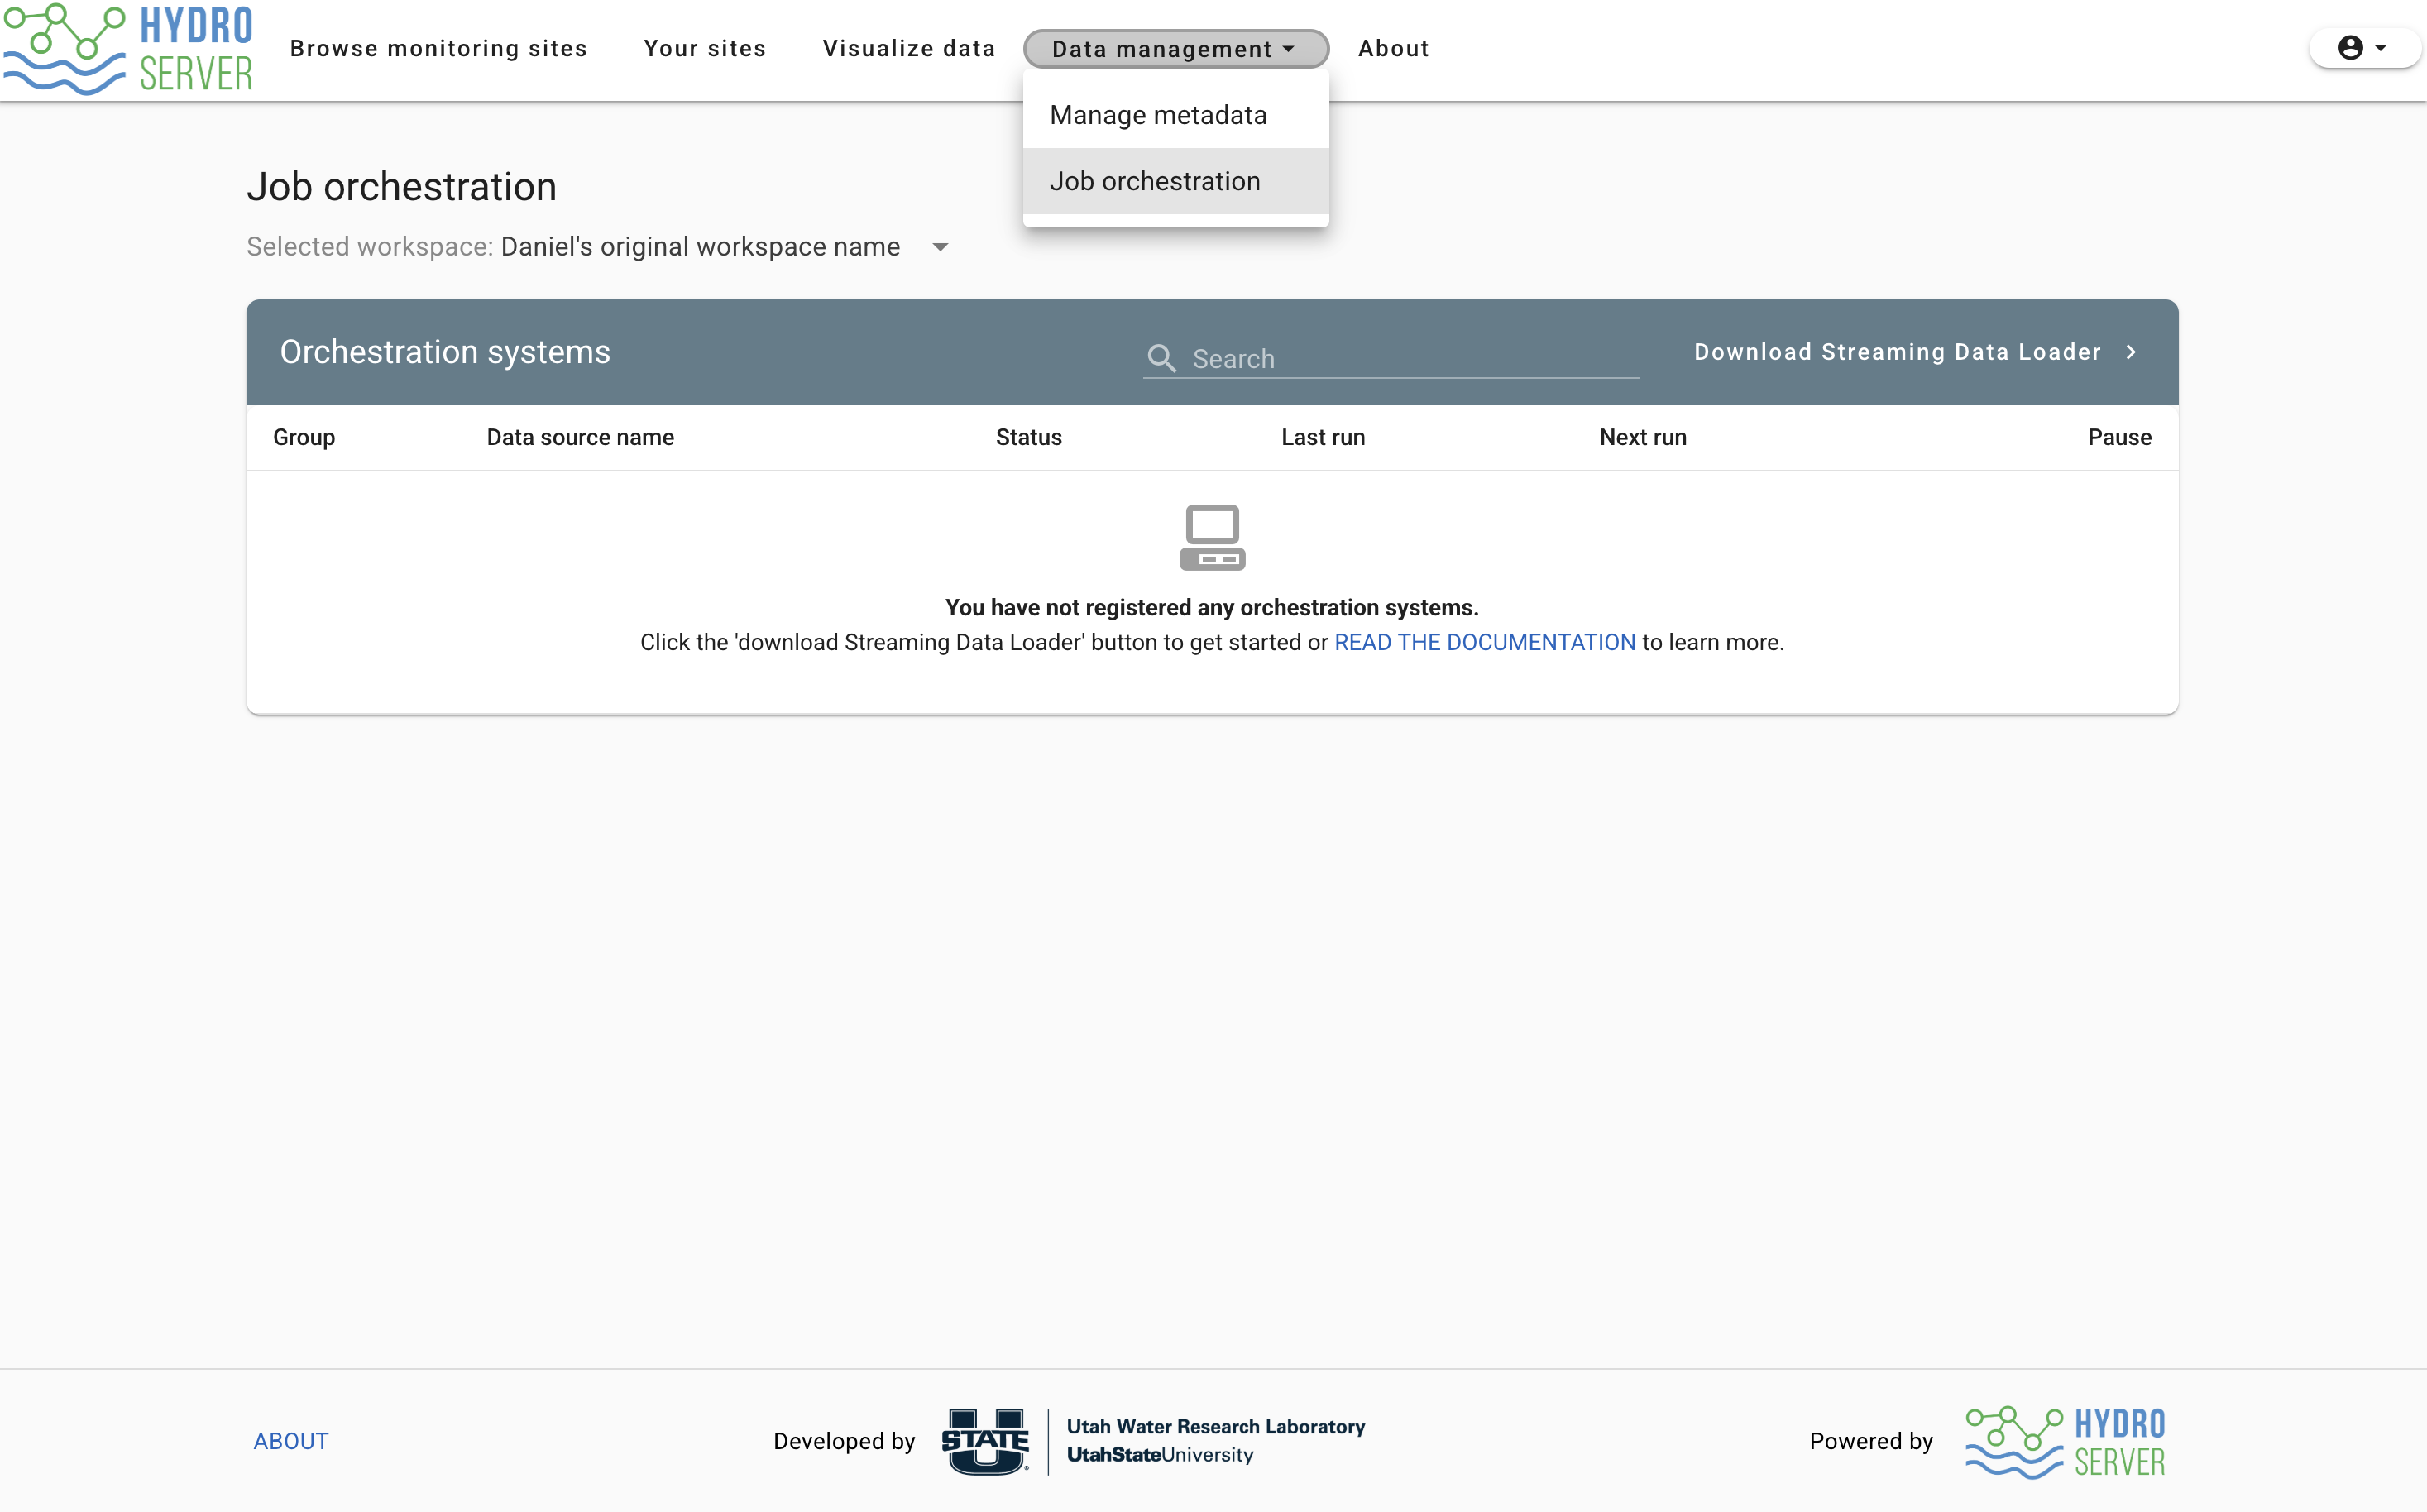
On the top right of the 'Orchestration Systems' table click the 'Download Streaming Data Loader' button. This will take you to a page to select the download for Mac/Windows/Ubuntu. Click the download button for your operating system and follow the instructions below to set up the application.
macOS
- Mount the Image: Double-click the downloaded
.dmgfile to open the disk image. - Install: Drag the Streaming Data Loader icon into your Applications folder.
- Security Authorization: Because this is a standalone build, macOS may block the initial launch. To allow the app:
- Open System Settings > Privacy & Security.
- Scroll down to the Security section.
- Click Open Anyway next to the notice regarding the application.
- Launch: You can now open the app directly from your Applications folder.
Windows
- Extract Files: Right-click the downloaded
.zipfile and select Extract All.... Choose a folder where you would like the application to reside. - Launch: Navigate to the extracted folder and double-click the Streaming Data Loader.exe file.
- SmartScreen Bypass: If you see a "Windows protected your PC" message:
- Click More info.
- Click Run anyway.
- Optional: Right-click the executable and select Pin to Taskbar for easier access later.
Linux (Ubuntu)
- Extract: Unzip the archive to your preferred location.
- Set Permissions: Open a terminal in that folder and run the following command to make the file executable:
chmod +x "Streaming Data Loader" - Launch: Double-click the executable or run it from the terminal using
./"Streaming Data Loader".
When the application is successfully installed and opened, you'll see a login page. Point the Streaming Data Loader the workspace you created at https://playground.hydroserver.org.
Workspace name is case sensitive
Your workspace name is case sensitive so you must type it in the form exactly the same as it is on HydroServer's Data Management Web App or the Streaming Data Loader won't be able to connect.
Your instance name will be what displays on the Job orchestration page in the Data Management App.

For authentication, you can either provide your username and password or you can create an API key. If you're going with user name and password, click 'confirm' on the form and feel free to skip the next section. If you created your account via Google OAuth, then you don't have a password with HydroServer, so you'll need to create an API key, which we'll do next.
Create an API key
From the main navigation bar on playground.hydroserver.org, go back to 'Your sites'. Right below the map, click the 'Manage workspaces' button to display the workspace table if it's not already present. Find the table row with your workspace name and click the blue padlock icon in the 'actions section'. This will open the 'access control' modal. Click on 'API keys' on the left menu.
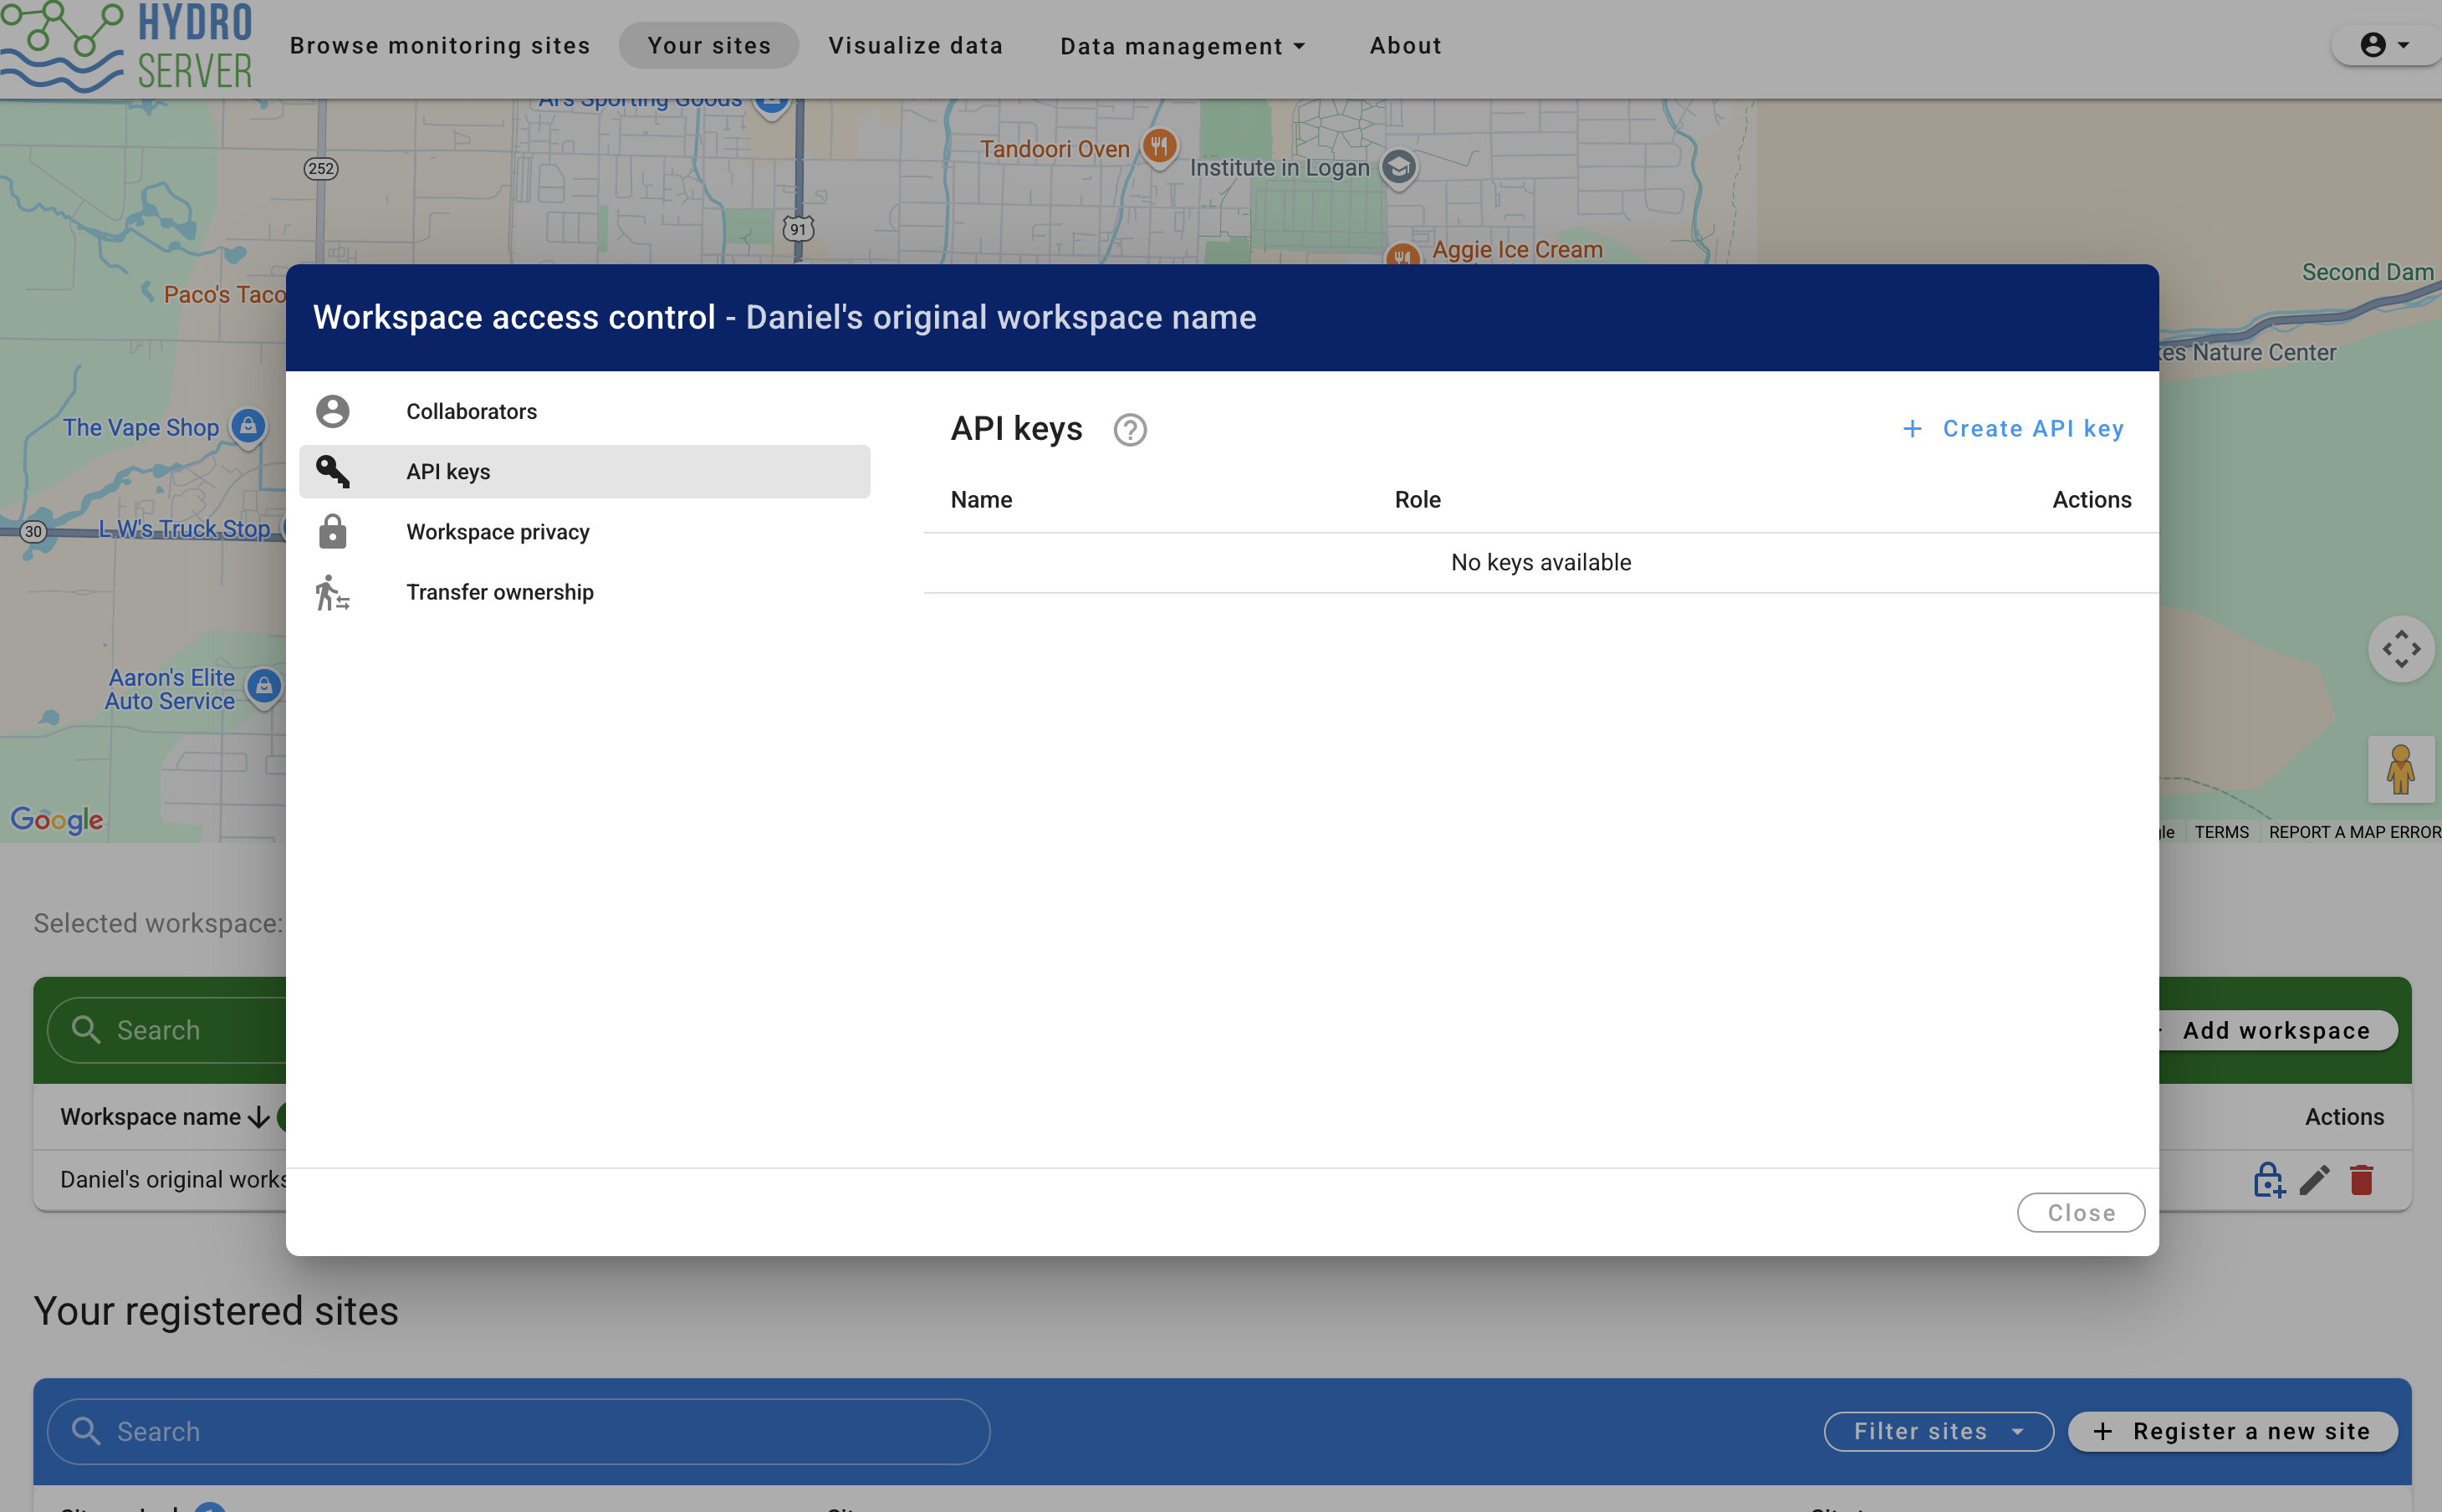
On the top right of the access control modal, click the 'create API key' button and fill out the form.
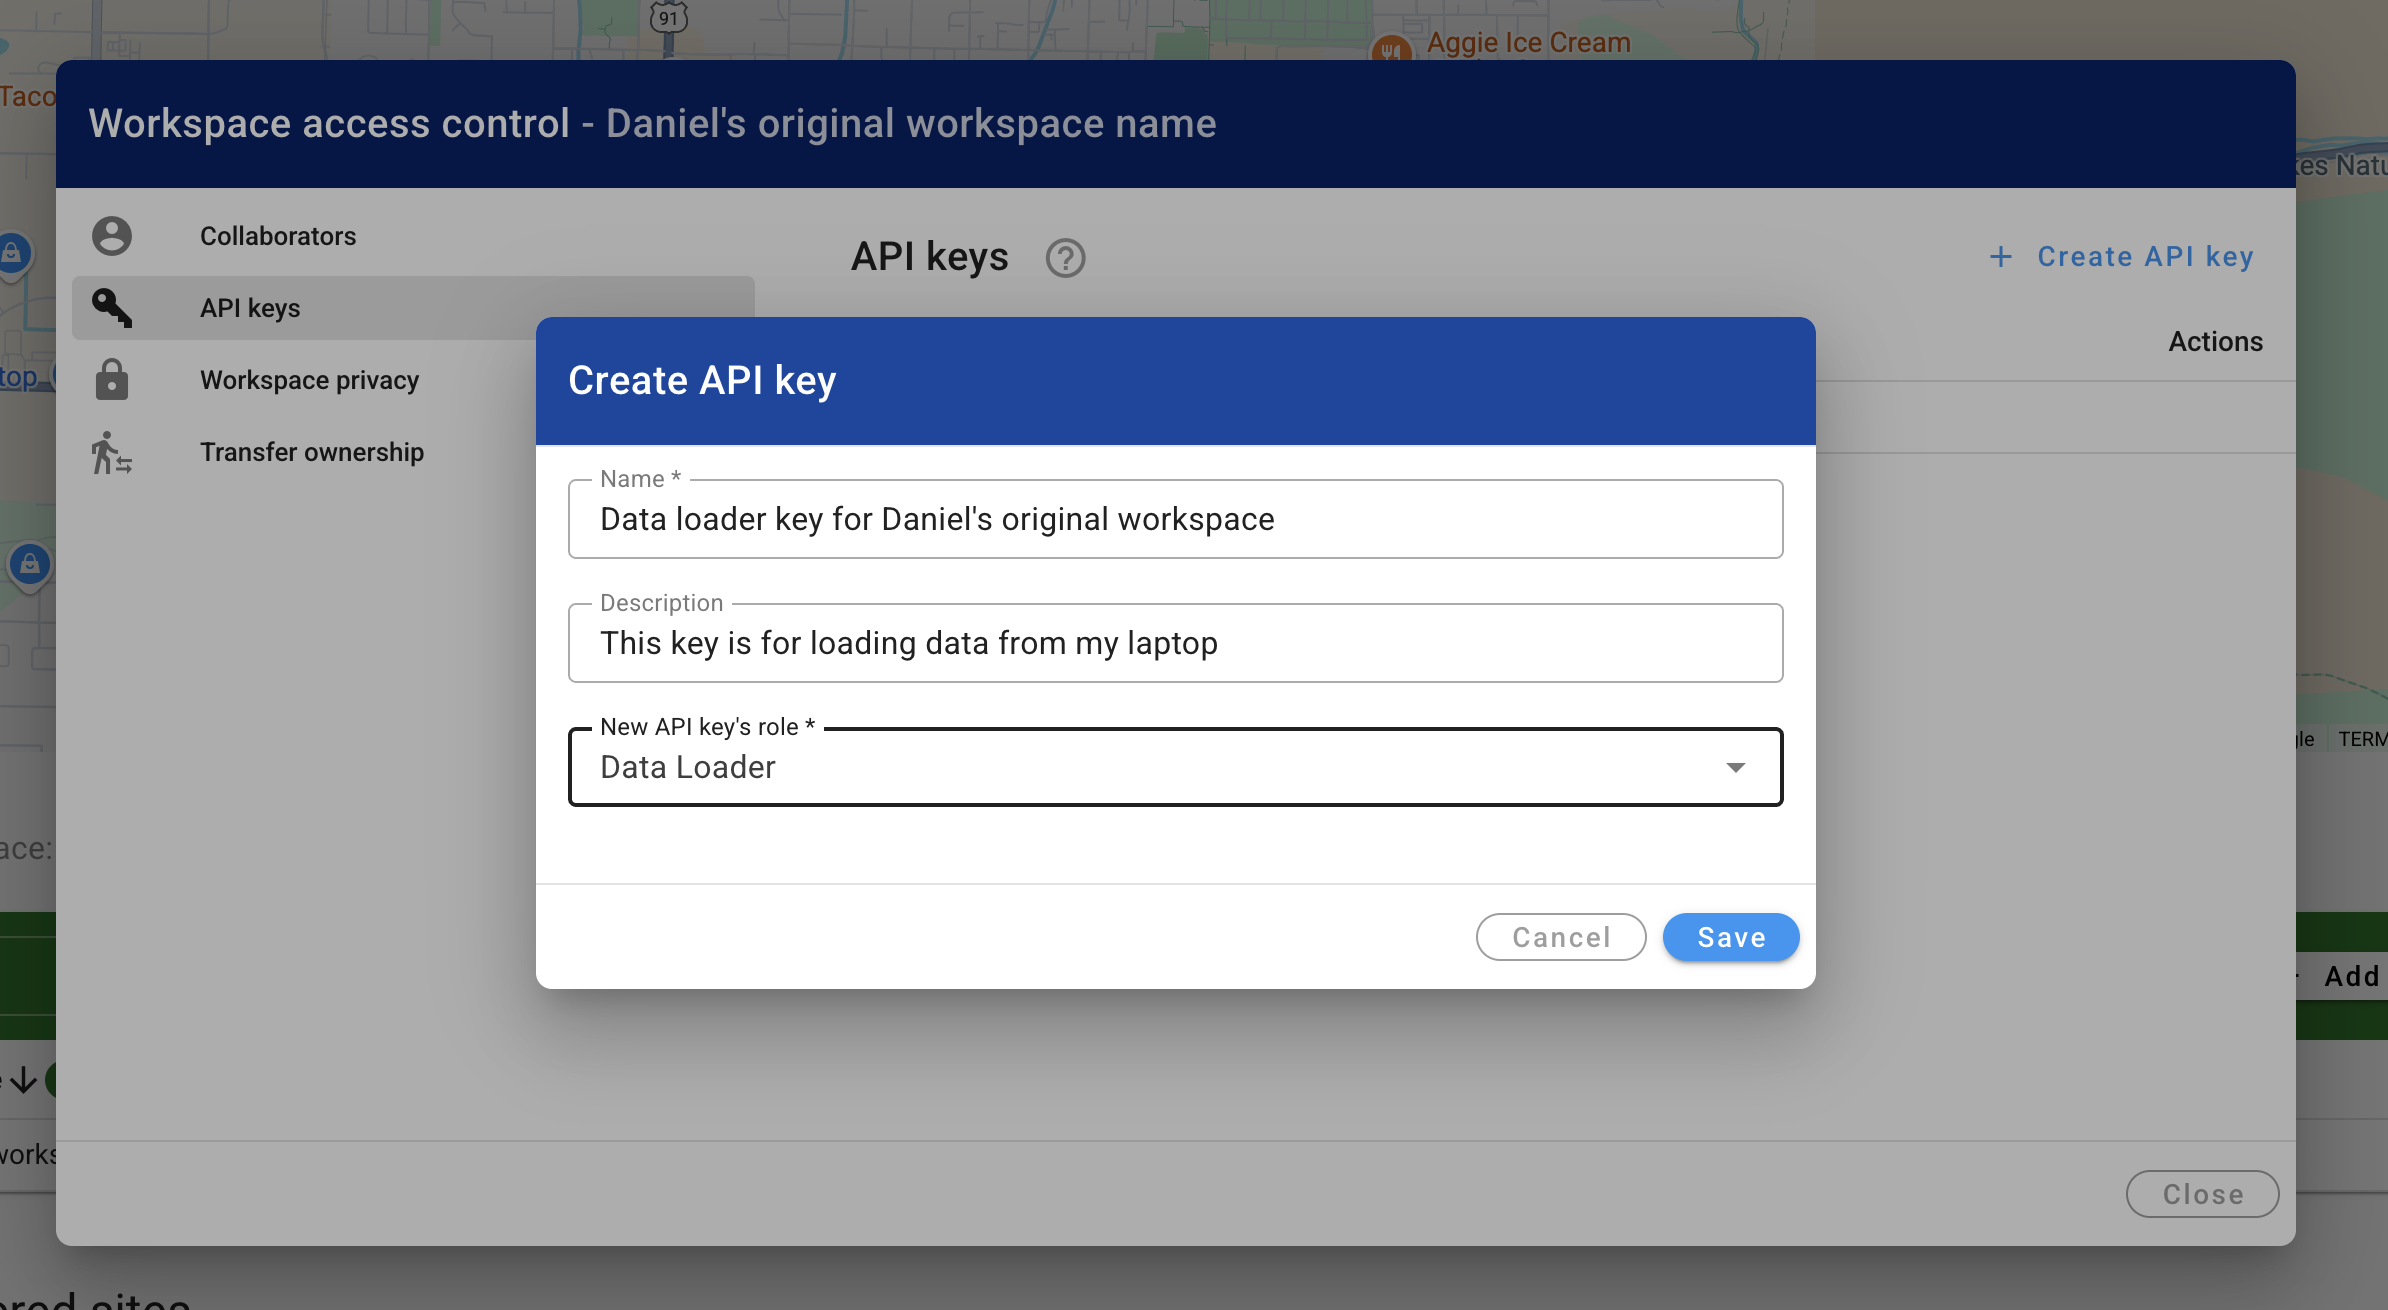
As the form says, once you close the modal, the website will never show you this API key again. So store it somewhere safe. If you lose it, you can always come back to this modal and generate a new key to replace the lost one.
Copy the API key and paste it in the HydroServer api key field of the Streaming Data Loader form to authenticate. Once the form is submitted, you'll get a success message and the Streaming Data loader will close its open window and run in the background from now on.
After you see the success message from the Streaming Data Loader, navigate back to the Job Orchestration page of hydroserver where you'll see your newly created orchestration system in the Orchestration Systems table.
Almost there
At this point we have a site and a datastream ready to receive data, and an orchestration system (the Streaming Data Loader) ready to push data. Now all we need is some data to push and the instructions to push it! We'll cover this in the following section.